
🏏 Australia Dominate to Take 1–0 Lead
Australia Dominate India in the 2nd T20I at the Melbourne Cricket Ground (MCG), claiming a 4-wicket victory and a 1–0 series lead.
The hosts executed their plans perfectly and displayed a complete team effort. Meanwhile, India struggled to maintain partnerships and paid the price for repeated batting collapses.
💥 Abhishek Sharma Fights Alone as Australia Dominate Early
Although Abhishek Sharma produced a sensational knock of 68 off 37 balls, Australia Dominate the innings early through relentless pressure.
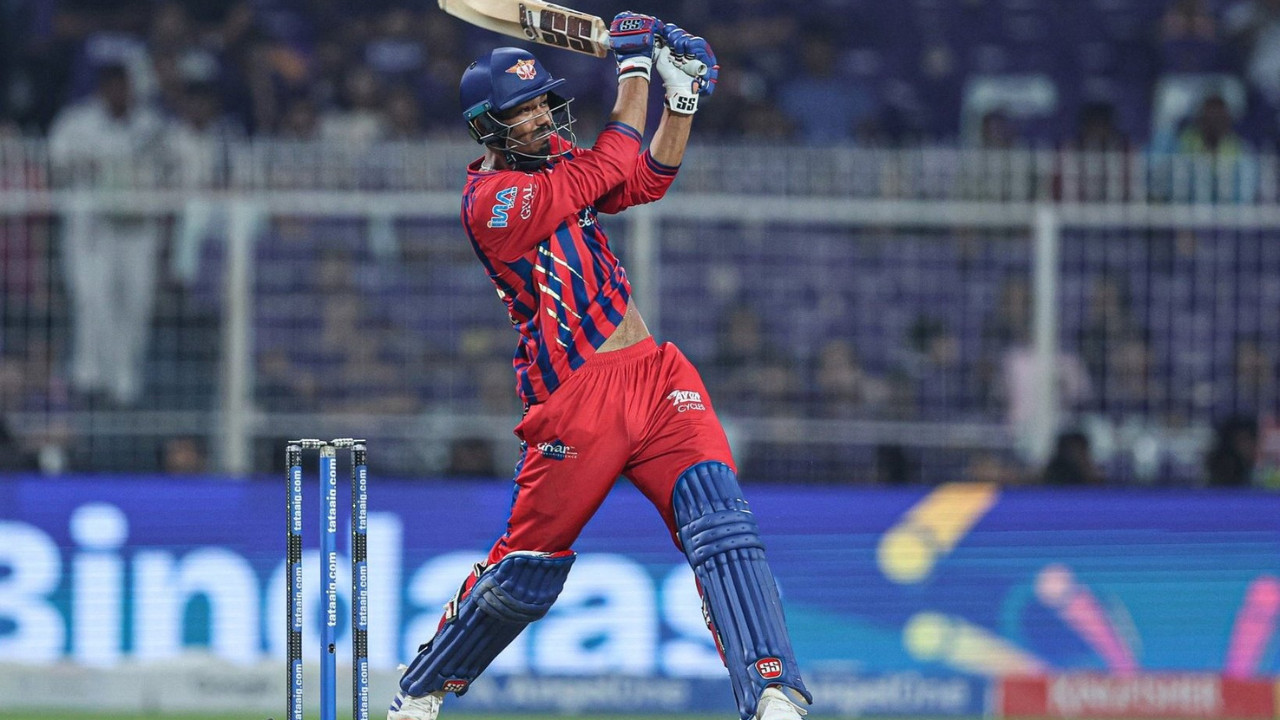
Gill (5), Samson (2), Suryakumar Yadav (1), and Tilak Varma (0) all fell cheaply, which left India reeling at 32/4.
Despite Harshit Rana’s 35-run effort, wickets continued to tumble at crucial intervals. Consequently, India’s innings never recovered momentum and folded for 125 in 18.4 overs.
⚡ Hazlewood’s Spell Helps Australia Dominate the Innings
Josh Hazlewood was clinical once again, finishing with 3/13 in 4 overs. Moreover, Nathan Ellis (2/21) and Xavier Bartlett (2/39) provided vital support with disciplined spells.
Their accuracy, combined with clever variations, ensured that India’s scoring rate dipped sharply after the powerplay.
As a result, Australia Dominate the game’s tempo, forcing India to take risks that led to further dismissals.
🔥 Marsh and Head Lead as Australia Dominate the Chase
During the chase, Mitchell Marsh and Travis Head attacked from the outset. Their aggressive 51-run partnership in 4.3 overs completely shifted the momentum.
Marsh struck 46 off 26 balls, while Head’s quick 28 off 15 added to the onslaught.
Although Kuldeep Yadav (2/45) and Varun Chakaravarthy (2/23) picked up wickets midway, the damage had already been done. Therefore, Australia Dominate the chase comfortably, finishing on 126/6 in 13.2 overs.
💫 Bumrah’s Effort in Vain
Jasprit Bumrah (2/26) bowled with pace and precision throughout his spell. However, he lacked support from the other bowlers.
While he tried to pull things back, Australia’s batters rotated the strike smartly and capitalized on loose deliveries. Consequently, Australia Dominate all phases of play and sealed the game with ease.
🏆 Series Situation
With this comprehensive win, Australia Dominate the series 1–0. Moreover, they carry strong momentum heading into the next match.
Meanwhile, India will need quick adjustments, especially in their batting approach, if they want to bounce back in the third T20I.
Therefore, consistency and intent with both bat and ball will be key for India to stay alive in this series.
🔍 Match Summary
India: 125/10 (18.4 overs)
➡️ Abhishek Sharma 68 (37), Harshit Rana 35 (33)
➡️ Hazlewood 3/13, Ellis 2/21, Bartlett 2/39
Australia: 126/6 (13.2 overs)
➡️ Mitchell Marsh 46 (26), Travis Head 28 (15)
➡️ Kuldeep Yadav 2/45, Varun Chakaravarthy 2/23
Result: Australia beat India by 4 wickets
Player of the Match: Hazlewood
🏏 What’s Next?
India will have to regroup quickly before the next clash. However, their top order must fire consistently if they hope to stop Australia Dominate the series.
With both form and momentum on Australia’s side, India face a tough task ahead.